Product Recommendations

Buzz Off…DIY Bug Repellent

DSC_4811BUG. BITES. ARE. THE. WORST.  They always manage to find the worst spots to bite, too.  The backs of your knees, the tops of your feet.  Or, my favorite, the ever popular right-in-the-middle-of-the-forhead bite.  Really?  I have a pretty high pain tolerance and I don’t complain often.  But when I’m itchy…I whine like a sick man.  WAAAAAAHHHHHHHHHH.

For this reason, I fear dusk.  I live in a wooded area and the mosquitos are plentiful.  Nothing puts a damper on a picnic quite like those little $h!t heads.  I am a nature and animal lover but I often find myself questioning how essential mosquitos really are to the homeostasis of the planet.  As much as I want them to just disappear and never return, they are here to stay and bestow their itchy misery on whatever victims they can find.  So let’s just suck it up and figure out how to make them move on to some other unsuspecting, non-greensypants.

First there are the obvious tasks…Eliminate stagnant water and wear long pants and sleeves whenever possible.  DON’T be the person who uses the chemical bug spray in your yard.  That garbage washes off in the rain and ends up in your water supply.  Tasty…And poisonous, and carcinogenic.  There are some herbal yard and shrub sprays made from peppermint oil that can be attached to your hose and sprayed in the wood line.  They work well short term.  If you are planning a picnic or to be out in your yard spray in the morning and it will definitely help for that day and maybe the day after assuming it doesn’t rain.  Here is an example.  It also repels fleas and ticks…Bonus:  It smells lovely.

So, I am guilty of using the main stream, store bought bug spray.  Sometimes it just has to be done.  If I am in a place where that is the only thing available I will spray a little on my clothes and try to avoid my skin.  There is some really horrendous ingredients in that crap.  Everything you need to know is right there on the can.  A nice long list of warnings.  You’ll also notice the burning in your lungs if you happen to mistakenly breathe in while applying.  If that is really your only option, and it’s rare that you do it, then go ahead and use it.  There are some really nasty things that can be spread by mosquitos.  However, with a minimal effort you can always be prepared to repel those buggers with some natural ingredients and things you may already have around the house.

be13db3a-627e-4c58-931f-62b5dca1ef37.img
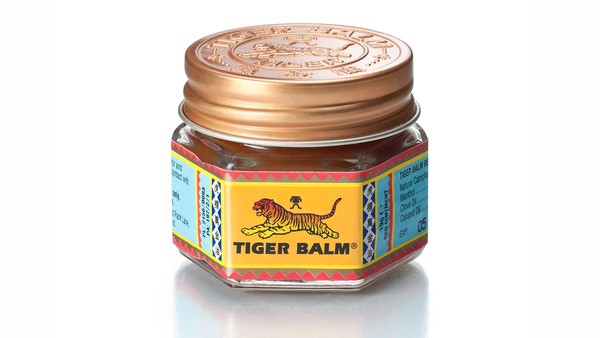
Tiger Balm:  This is a cream rub for aches and pains made from herbal ingredients…Camphor, menthol, mint, and clove oil.  It has a strong smell. That is what repels the bugs.  If you ask me, the smell is much more pleasant than your typical chemical filled bug spray.  Apply small amounts in areas mosquitos frequent.  If you have achey muscles go ahead and rub it all over.  Tingly.  Tiger Balm does contain a small amount of petroleum which some people like to avoid.  Generally speaking, I try to avoid it too, but the small amount used here is no big deal to me if it’s going to avoid getting bitten and exposing myself to potentially harmful diseases transmitted by mosquitos.  The small container is around $6 and a little goes a long way.  One purchase lasted me all summer using it about twice a week.

If the petroleum is a deal breaker for you there are sill plenty of options…

Tea Tree Oil:  Tea tree oil is an essential oil and is often used as an antiseptic and for acne.  I like the Desert Essence brand.  I purchased mine at Whole Foods but you can also find it here.  Any essential oil should be diluted with a carrier oil before applied to skin.  You will want to use a carrier oil that has no smell, or at least not a sweet smell in the case of a bug repellent.  Jojoba, or even olive oil would be good choices.  You can apply it to the same areas listed above under the Tiger Balm.

DSC_4813Citronella Oil:  I have no clue why this never dawned on me.  All the times I’ve seen and used citronella candles for mosquitos and I never gave a thought to what citronella was.  It’s a grass!  Well, holy $h!t.  How well does that work out for me?  I found this oil in my local health food store. It was $5.99 for one ounce.  A little goes a long way. You also dilute it with a carrier oil as you would with tea tree oil.  I find the citronella works better than the tea tree but it does have a stronger smell.

You want to mix 25 drops of essential oil (citronella or tea tree) to 2 tablespoons on carrier oil (jojoba or olive).  Almost every essential oil comes in a dripper bottle so it’s easy to control the drips.  You can purchase small bottles with squeeze drip applicators for the mixture and apply a few drops to the areas you wish and rub in.   Good areas to focus on are temples, behind the ears, nape of neck and the joint areas (inside elbows, wrists, back of knees, ankles).  The bottles are a few dollars each.  You can often find them in health food stores or at mountainroseherbs.com.  If you try to put this oil mixture in a spray bottle it will most likely clog.  If it is a spray you are looking for…

Another method is to put the essential oil in a small travel size spray bottle and mist the clothes you will be wearing outside with the concentrated oil.  Both tea tree oil and citronella oil on their own are thin enough that they won’t clog a sprayer.  I haven’t had a problem with staining, but I have a plain white tee shirt I use specifically for bug repellant and put it on over my clothes for the few hours bugs are at their worst.  I do the same for my daughter.  If I am going to be away from home I spray the shirts and put them in a gallon ziploc and take with.  Using this method will allow you to have the benefit of concentrated bug repellant without putting it on your skin (reminder, do not apply concentrated oil directly to skin, it may cause irritation).  I have put it directly on dark clothing also and have yet to deal with a stain.

You can also make a diluted spray that can be applied directly to your skin as well if you feel the extra clothing is a hassle.  Here is the recipe:

  • 4oz of distilled water
  • 3oz of witch hazel
  • 50 drops of your preferred essential oil (or a combination of both).

Mix in small spray bottle and apply as necessary.

Many other essential oils can be used the same way, but tea tree oil and cintronella oil seem to get the best results in my experience.  If you happen to have eucalyptus or peppermint oil you can try those before you purchase a new oil.

DSC_4814

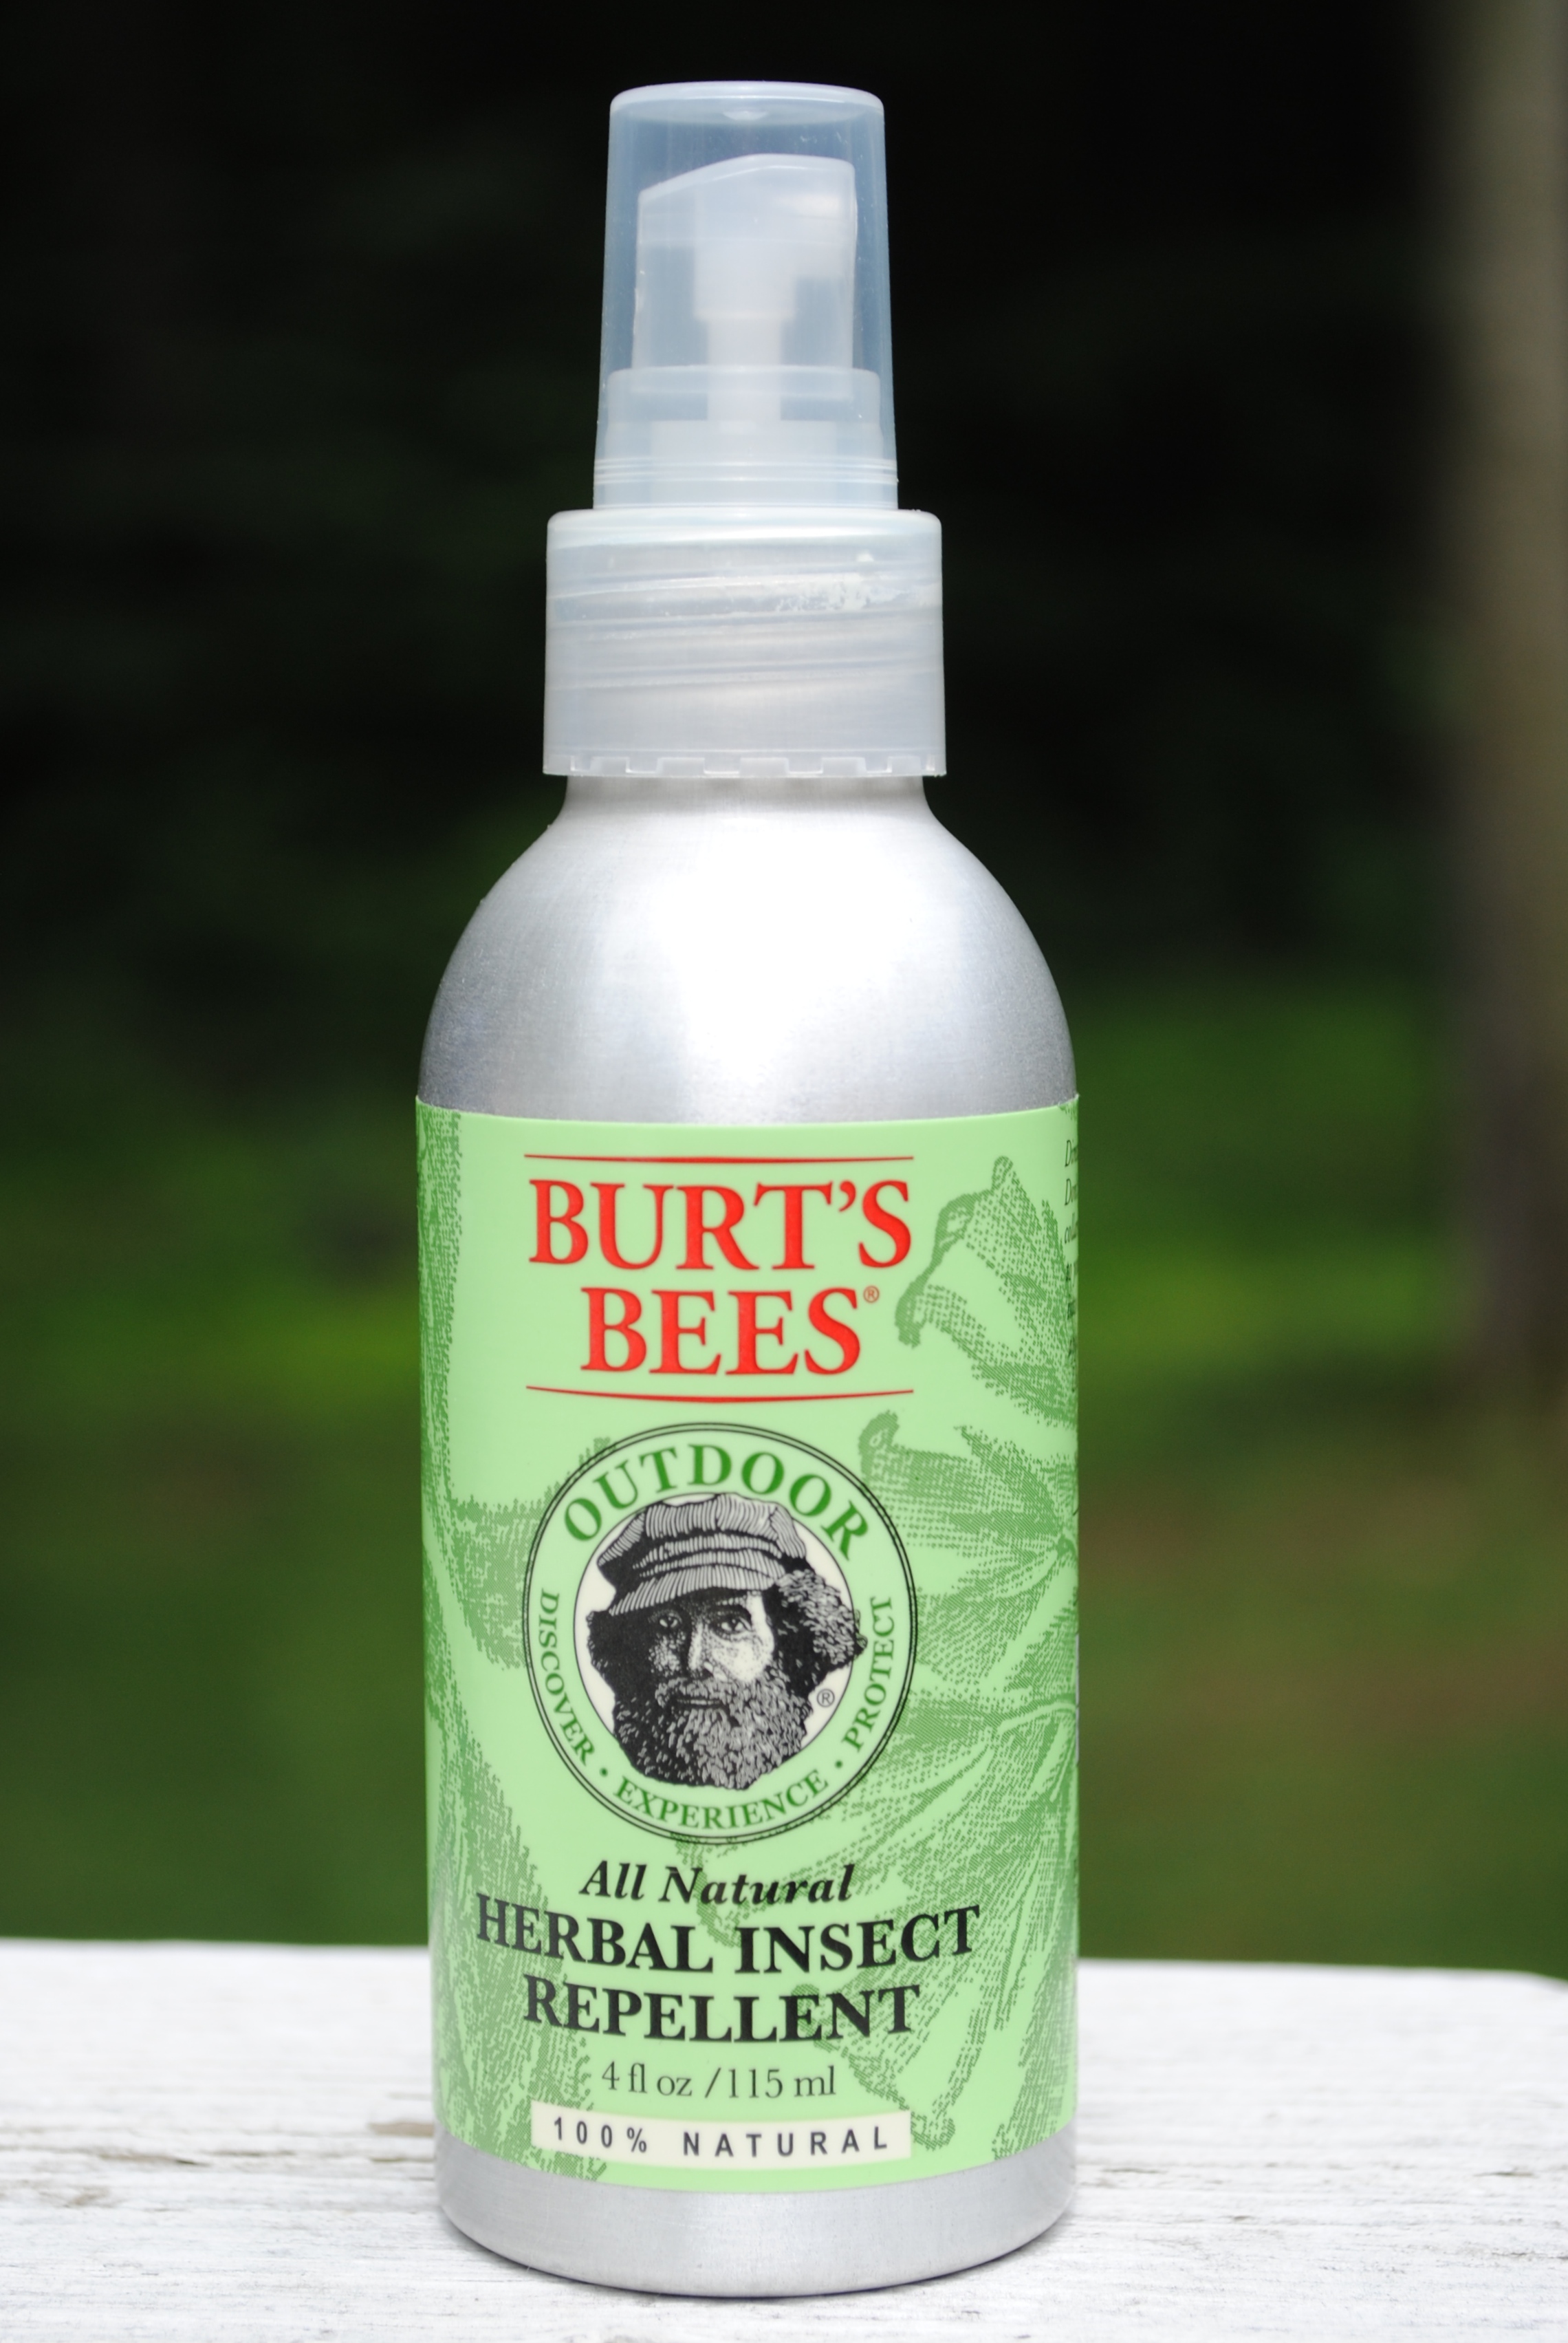
Another option is a store bought all natural bug spray.  I have the Burt’s Bees All Natural Herbal Insect Repellent.  All of the ingredients are legit natural and include castor, rosemary, lemongrass and citronella oils among others.  It costs $7.99 for a 4oz spray bottle.  This is great to travel with.  I find it’s not quite as strong as using the oils but it’s a great choice if you want something quick and don’t mind reapplying a few times.  I always have this in my bag in case I forget my homemade oil mixtures or citronella or tea tree sprayed clothes.  That way I never have to be faced with using the awful chemical $h!t storm spray. Burt’s Bees is one of my fav brands. I absolutely love their products and use them for myself as well as my daughter.  This little spray bottle fits perfect it my purse and is made of aluminum. I have reused the empties several times for other things.


Tips and Tricks:

  • Add some of your oil mixture to a tart warmer and light candle underneath to use in place of citronella candles.
  • Got babies?  Spray a washcloth with your home made bug spray and put it near where your baby is sitting or sleeping outside.  I tucked it right in the visor part of the car seat where it was safely out of reach when she was snoozin…Works like a charm.  (Also, hang from patio umbrellas and deck railings.  Why not?)
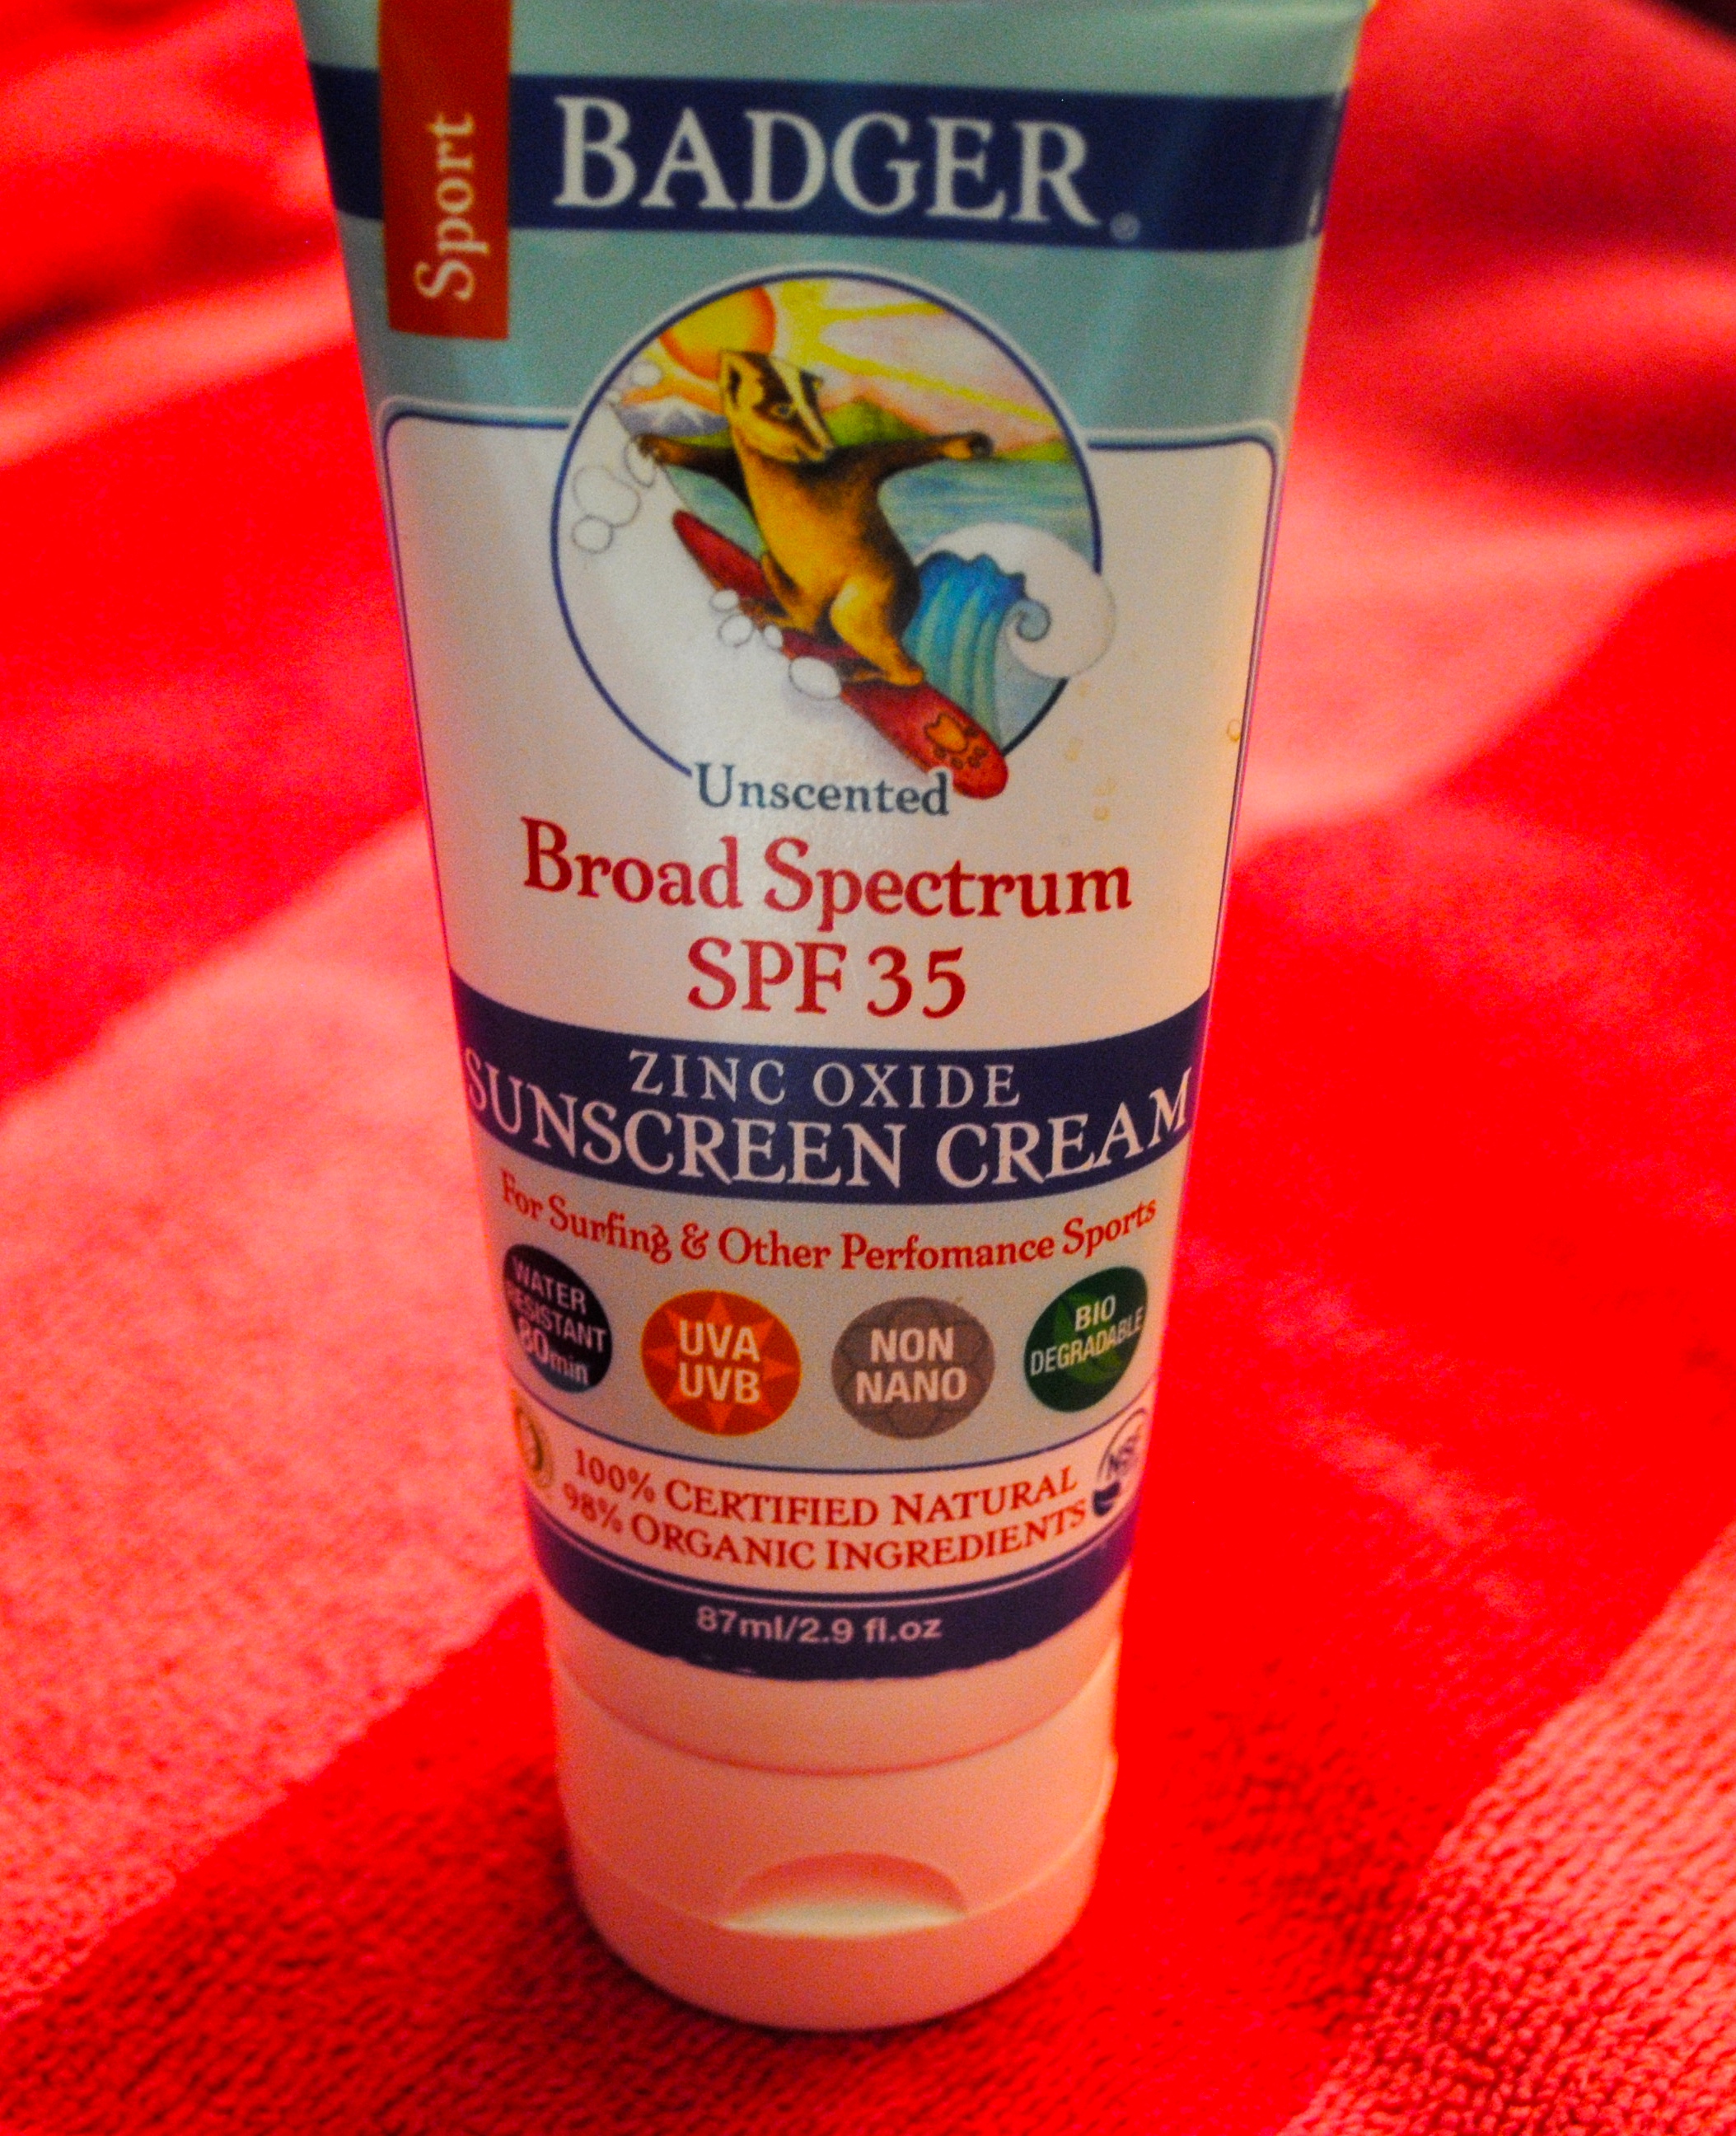
  • If you feel like the scent of the natural bug repellent of your choice isn’t coming off easily in the shower, rub a little coconut oil on it and it will wipe away easily with a washcloth.  (This trick also works for DIY sunscreen)
  • All of these suggestions will also repel ticks.
  • Apply a few drops to your pet’s collar.  Avoid getting it on their fur so they do not lick it off.  Most essential oils are not edible.

Now you can enjoy all your outdoor adventures (or just enjoy a cocktail in a lawn chair) without wanting to scratch your skin off.  You’re welcome!

Be sure to like greensypants on facebook and follow on twitter so you know when there is more greensypants info to soak in!  Share with your friends and the green will keep coming your way!

Smooches,

Nikki


Categories: Body, Green Love, Product Recommendations | Tags: , , , , , , , | Leave a comment

Buttpaste vs Cancer

DSC_4771Now that I have your attention…

You know how when you are young you would rather die than listen to one word of advice your parents give you?  Yup, that was me.  There was one thing though, that for whatever reason stuck.  My mom would always tell me to wear sunscreen.  This is one of those golden nuggets that you don’t understand when you are seventeen.  As if I’m ever gonna get wrinkles mom, please.  And skin cancer is for old people.  But alas, there I was sneaking into her medicine cabinet generously applying her SPF 30 face cream in the morning (that just shed a whole lot of light on why you flew through that stuff huh, Ma?) .  Here are the words every mother wants to here….Mom, you were right. (I still stand by my tattoo and belly piercing though).

Most of us use sunscreen when we are planning a day outside in the sun.  Really though, you need to be using this stuff everyday.  Even on cloudy days UV rays are strong enough to damage skin.  We all want the easy way out, right?  We want to be able to do barely anything but get huge results.  Well what if I told you there was a way to prevent skin cancer and wrinkles and it’s as easy as putting lotion on everyday?  Oh wow!  How do I do that?  F*ck!ng sunscreen.  Use it.  You will walk for the cure but not put lotion on for the prevention?  Think about that one…

As with any product there are good sunscreens and bad ones.  Ones that are natural and ones that are filled with chemicals.  You’re here on greensypants so you’re looking for alternatives to the mainstream crap you buy in stores.  For some reason we forget that what we put on our body is just as important as what we feed ourselves.  Our skin is our biggest organ and it is porous.  It will absorb what you put on it.  There lots of chemicals that you will see on the back of your sunscreen bottle that could potentially be harmful.

Truth be told, the jury is out on all the chemicals used in sunscreen.  There are some studies that show some of the chemicals, such as oxybenzone, are present in the urine of almost all subjects that applied the sunscreen.  What does that mean?  It means that you put it on your skin and it has the potential to be absorbed into your bloodstream and hang out in your body for a while before exiting through your urine.  What did it do while it was in there?  Maybe nothing, but we don’t really know.  The companies that make products with suspect ingredients always fall back on the old…”We have been using this ingredient in our product since 1970 (or some other seemingly far away year).”  Oh, cool.  You know what there is a lot more of since 1970?  Cancer.  Is anyone able to prove without a doubt these ingredients cause cancer? No.  Is there anyone who can prove definitively and without question that they don’t cause cancer?  Anyone?  Didn’t think so.  There are plenty of studies that show zero adverse affects.  Guess who paid for those studies????  Yeah, the company making the sunscreen.  That’s not a conflict of interest or anything.

I went ahead and listed all of the ingredients in your typical SPF 30 sunscreen that you would buy in the store. Take a look…

Active Ingredients: Avobenzone 1.0%, Homosalate 10.0%, Octisalate 5.0%, Octocrylene 0.8%, Oxybenzone 4.0%

Inactive Ingredients:  Water, Stearyl Alcohol, Glycerin, Caprylyl Glycol, Hydogenated Dimer Dilinoleyl/Dimethylcarbonate, Copolymer, Triethanolamine, Cetyl Alcohol, Xanthan Gum, Sodium Lauroyl Sarcosinate, Disodium EDTA, Dipopylene Glycol, Disodium Ethylene Dicocamide, PEG-15 Disulfate, Glyceryl Stearate Citrate, BHT, Cetearyl Alcohol, Sodium Lauroyl Lactylate, Retinyl Palmitate, Tocopheryl Acetate, Lecithin, Aloe Barbadenisis Leaf Juice, Phenoxyethanol, Methyldibromo, Glutaronitrile, Methylchloroisothiazolinone, Methylisothiazolinone.

Phew. At least I see Aloe Leaf Juice in there!

The active ingredients listed here (zinc oxide and titanium dioxide) are what are referred to as “physical barrier” sunscreens which simply sit on the skin and form an actual barrier from the sun.  The rest of these hard to pronounce ingredients on this label are “chemical barrier” sunscreens.  That means that they are absorbed in the skin and the sun protection is a chemical reaction. There are so many ingredients in most sunscreens to ensure full spectrum light protection.  All those chemicals listed above have different UV rays they filter.  That is really important when using sunscreen.  It’s getting confusing now, I know.

I don’t want to launch into a chemistry lesson and try to explain all these scary looking ingredients.  I wouldn’t be able to if I tried.  Instead, I am going to show you the ingredient list of the Badger brand sunscreen that I use…

Active Ingredient: Non-Nano Uncoated Zinc Oxide 22.5%

Inactive Ingredients:  Certified Organic Sunflower Oil, Certified Organic Beeswax, Certified Organic Jojoba Oil, Sunflower Vitamin E.

Well, isn’t that lovely?

There is only a “physical barrier” sunscreen here.  Zinc Oxide.  The non-nano, uncoated means that the particles in the zinc are big enough that they cannot penetrate the skin and will only sit on top.  Many other sunscreens contain Titanium Dioxide.  This ingredient has recently come under fire.  Here is a good read. The controversy is not in the ingredient itself just in the fact that it’s not always clear if the type of titanium dioxide used is the proper formulation, and therefore, may be absorbed through skin.  Take a gander and you be the judge.  You may want to read the “Nanoparticle Info” at the bottom of this post.

Now, like I said in the past, I’m not about to tell you that your sunscreen may be harmful and then leave you high and dry.  You have options here, loves.  Can you make your own?  Yes.  Do I make my own? No.  Is there a reasonable middle ground?  YES!

DSC_4784Zinc oxide.  It should be listed as the only active ingredient in your sunscreen.  As mentioned above, Badger is my go to store bought brand. It is expensive.  This 3 oz tube pictured on the right cost $14.  Since it is a mineral sunscreen, it is more expensive.  Zinc is an actual earth mineral and is much more expensive than those cheaply manufactured chemicals.  Make sense?  I will say, that I think the Badger is worth the money.  You can purchase it here.  They have sunscreens for kids and adults and tons of other great products.

You can in fact make your own sunscreen by purchasing zinc oxide non-nano powder and mixing up a batch with other ingredients like magical coconut oil and cocoa butter.  The reason I don’t do that is because zinc oxide powder in its concentrated form can be breathed in and damage your lungs.  I don’t want to mess with that stuff.  Don’t let that alarm you.  Regular old table salt would be harmful if it were breathed in as well.  What now?  In true greensypants fashion, I have an answer for you….

Buttpaste.  Yup.  All you mommas and poppas out there will recognize this in the first photo.  It’s diaper cream.  You can use this stuff straight and it costs about half of what the Badger will cost.

Diaper cream is just zinc oxide which is the active ingredient in sunscreen.  It is meant to sit on baby’s sweet little tush and form a barrier to protect affected skin.  It’s all mixed up and ready to use.  No messy lung infecting powder to deal with.  The tube pictured in the first photo is maximum strength, 40% zinc oxide which would give you an SPF of approximately 60. Wowza! That’s a high SPF.  You can use diaper cream straight up on your skin and will have maximum protection.  If you will be using it straight you can go with regular strength diaper cream.  If you want to add some other organic ingredients and make it a little more luxurious on your skin go with the maximum strength 40%.  That will enable you to dilute the cream with other ingredients and still have a high SPF.  Here is a recipe for making your own SPF 30 sunscreen with diaper cream.

  • 1/4 cup (one 4oz tube) of maximum strength diaper cream.
  • 1 tablespoon coconut oil
  • 1 tablespoon cocoa butter
  • 1 tablespoon beexwax

Warm coconut oil on stove top in small pan until melted.  Remove from heat and add other ingredients.  Mix well and place in tube or jar.

Making the recipe will end up costing almost as much as buying the Badger.  I make my own using this recipe and use the Badger.  They are virtually the same.  If I am going to give an honest recommendation I say stick with the Badger brand and avoid the hassle of making your own since the cost is about the same.  If you really want to save money then go with straight up Buttpaste…But…

There is a down side I have to tell you about.  The zinc does not absorb in your skin beautifully.  It will make your skin appear a bit white. It’s not that bad.  Remember that physical barrier talk above?  This white layer is the protection from the sun.  Is this inconvenient? Yes.  Know what else is inconvenient?  Cancer.

I used to be all weird about it in public.  I was so concerned what everyone would say behind my back because I possibly look like I have lotion that needs to be rubbed in. Then I realized…You know what…I’m fighting cancer.  And wrinkles.  Oh, you think I look dumb with my skin protected from the sun?  Let’s compare sun spots in 20 years.  How about that???  I wear my ghost suit loud and proud.  I don’t even care anymore. I’m saying “no, thank you” to cancer.  And another thing…So many people ask me how I have managed to keep my skin looking youthful.  You should see their face when I tell them Buttpaste.  Priceless.

I am not suggesting you look like casper all day every day.  You can put a small amount of the diaper cream in your daily moisturizer for a light UV protection if your sun exposure will be limited and the white won’t be detectable.  It’s a better option than all the age defying creams with the yucky chemical sunscreens.  If you are beach bound and know you are going to be in the relentless sun then spread that $hit all over. If the idea of the white is too much for you to handle in public, use your regular sunscreen and stick to using the diaper cream when you are at home in your own back yard and no one will see you.  Those small changes are better than nothing.  I will warn you though, that’s how I got my start.  Just when I was in my garden.  Now I glow white for all the world to see.

Lather up, bitches.

I’m not just talking about your face.  Spread that $hit everywhere with reckless abandon.  Pay special attention to your face, shoulders and chest.  It may seem like overkill now but you’ll be the sexiest one in the nursing home someday.

I joke about the Casper thing, but really, it’s not that bad.  Just be prepared to take an extra minute to spread evenly.  I put a little sample on my arm for you to see.  The left is the Badger brand and the right is pure Buttpaste.  The recipe above comes out the same as the Badger.

DSC_4785

See?  You can handle that, right?  In do time people will be asking you what you do to make your skin look so amazing.  Add coconut oil to your routine and you are a green force not to be reckoned with.  Read about it here.

Some tips:

  • A little nervous? Use your normal sunscreen and gradually add more and more diaper cream into it.  This way you will at least be using less of the harmful stuff.
  • You can purchase other brands of diaper cream but look at the other ingredients.  Many have some unsavory contents.
  • Go with a diaper cream that is 40% zinc oxide if you are making the recipe.
  • Babies don’t care if they look white.  Use this on your little ones if you have them!
  • As with any sunscreen, re apply often
  • Don’t forget the backs of your hands, that area is the first to show age.

Be sure to like greensypants on facebook and follow on twitter so you know when there is more greensypants info to soak in!  Share with your friends and the green will keep coming your way!

Smooches,

Nikki

Nanoparticle info

A few people have inquired about my awesome beach bag in the first photo.  Here is the link if you want to order one!  Lot’s of colors and patterns!

Categories: Body, Green Love, Product Recommendations, Recipes, Uncategorized | Tags: , , , | Leave a comment

Juicy Freezer Pops

DSC_4682This is not just for the kiddos…Although they do love them.  We all know the freezer pops from when we were kids.  Just the thought of them brings me back to the days of hot summer sun during school breaks.  I systematically would eat the purple first, then orange, then yellow, then red.  Then the worst. Green.  Bleck.  It was a dirty job, but somebody had to do it.  Then they got really creative and added in blue and pink.  Amazing right?  WRONG.

Now, years ago I will say these things weren’t so bad because it was just water, sugar and food coloring.  In comes all these big agra-business firms and then everything started going to $hit.  High fructose corn syrup made from GMO corn, poison food coloring that is turning up positive on allergy tests and linked to behavior problems…the list goes on and on.  Am I the only one who noticed that with the rise of all the crap in our food the incidence of cancer and other horrible diseases has risen too?  Coincidence?  I think not.  What I’m trying to say is, if you are buying freezer pops or any kind of popsicle for yourself or your kids…STOP.  NOW.  If you have any in your freezer, THROW THAT $HIT OUT.

I would never tell you to do something so drastic without giving you some sort of alternative that’s even better than the original.  By now you know me well enough to know what I’m going to suggest.  Make your own!

This process is so incredibly easy.  You are going to need a juicer.  If you have been toying with idea of getting one check out my post on How to Choose a Juicer for some help.  You could also use a blender.  The pops will just have a little more texture but are still amazingly delicious.  Did I write a post on how to choose a blender?  Heck yes, I did. Read it here.  If you have neither then read Blending Vs Juicing to decide which one will suit your needs better and be ready to have your mind blown.

You will also need something to freeze the pops in.  I used Zipzicles in this post but you can also use your standard plastic pop makers found in most stores.  I prefer to use the reusable pop makers since I am, after all, a greensypants, but I have washed out and reused Zipzicles pouches and you can get a few uses out of them.  Zipzicles are BPA free plastic and are reminiscent of those beloved freezer pops you remember as a child.  While I don’t use them all the time they are great for when I just want to make a few pops with juice I have left over and my plastic pop maker is occupied and already in the freezer. You can purchase them here.

Now you have your juicer or blender and your containers of choice for freezing your pops.  Extract or blend your veggies and fruits and just pour into pop molds.  If using Zipzicles, a small kitchen funnel will avoid spilling and swearing.

To maximize the nutrition you are getting from your pops, use mostly vegetables with just a small amount of fruit to sweeten.  In the photos you see here, I used beets and kale in the purple pop, kale, pea shoots and lemon in the green pops and carrots and apple in the orange pop.  Get creative and use things you aren’t sure if you like.  Once mixed with something sweet and frozen it takes on a whole new taste.  If you’re really feeling this whole pop thing, cut chunks of fruit and plop those suckers right in there.

If this is for the kids, don’t go blabbing about how you put kale or spinach or something in their freeze pops.  Talk about buzz kill.  Make them under the cover of darkness and let them try them before you tell them what’s actually in it. They will love it.  Keep the secret if you have to.  Use colorful veggies to make the pops look vibrant just like the garbage you buy in the store.

Good to knows:

  • DSC_4683If using Zipcicles, store upright in freezer so they are easier to open and eat.  I stand them in my other pop maker tray if it’s empty or if I have one already in the freezer that has a few spots open from pops already eaten.  If not I just stand them up in a plastic bowl filled with ice.
  • Set a timer for one hour after you put them in the freezer.  When it goes off take the pops out and give them a shake.  They will begin to separate and the more solid parts will sink.  This will ensure a nice even distribution.
  • Get frisky and add things like hemp seeds or chia seeds.  Oh la la.
  • If using a blender, add some water to make the pops easier to pour.

Enjoy my little greenies!  Until next time…

Be sure to like greensypants on facebook and follow on twitter so you know when there is more greensypants info to soak in!  Share with your friends and the green will keep coming your way!


Smooches, Nikki

Categories: Product Recommendations, Recipes, Uncategorized | Tags: , , , | Leave a comment

How to Choose a Juicer

DSC_4672After making the decision that I needed some juice in my life it was time to pick a juicer.  Like any good greensypants would, I took to the net and spent days and days researching juicing, juicers, what to juice, how to juice, juice recipes, etc.  Oh yes, this is going to be amazing.

Buying a juicer seems like a simple task.  It’s not.  Turns out there are several different kinds of juicers.  Like most other things, there are some good ones, and some bad.  As I did with “How To Choose a Blender”, I will give you the skinny…(juicing will help give you the skinny too, FYI)

There are three basic types of juicers.  Centrifugal, Masticating, and Twin Gear.  Twin gear or “titrating” juicers are super expensive (they start at $600) and they are a bitch to clean. They are used in juice bars or more industrial settings and aren’t really practical for the majority of households.  For that purpose I am going to stick to the centrifugal and masticating juicers.  So, here we go…

Centrifugal: Uses a grater (think cheese grater) that rapidly spins and shreds the fruits and vegetables.  Then, the shredded ingredients fall into a fast spinning basket that tosses the juice out the sides through a strainer and then drains down and out the front spout. The pulp remains in a removable basket in the machine.

Masticating:  Also known as a “slow” juicer, squeezes fruit and vegetables down an auger like a corkscrew. It squeezes more and more as the contents constrict. The juice flows out the bottom into a container and the pulp gets pushed out an opening at the end of the auger into a small bucket.

How do you know which is right for you?

Let’s talk about pros and cons.

While a centrifugal juicer is generally the least expensive, you are sacrificing a few things.  First, the friction caused by the rapid movement of the grating screen generates heat and also exposes the plant cells to oxygen.  The heat and oxygen exposure will destroy some of the enzymes and nutrients in the juice.  This isn’t ideal, but if you drink your juice right then and there after juicing you are still getting amazing benefits.  Second, the pulp, which is the fiber left over after juice is extracted, will still have a fair amount of moisture in it.  You can always do a second pass with the pulp to see if you can get any more.  Users also report that they aren’t as good at juicing leafy greens, which are the bomb diggity and essential to “green” juice.

Breville Fountain Elite

Breville Juice Fountain Elite

Unknown-3

Breville Juice Fountain Compact

Some advantages to a centrifugal juicer are that it takes up slightly less space than some masticating juicers.  Many also have a nice, large chute which avoids having to chop anything first.  Some can even fit a whole apple.  It also juices pretty quickly and is relatively easy to clean.  The centrifugal juicers that are most popular and have the best reviews are the Breville Juice Fountain Elite (for large volume juicing) and the Breville Fountain Compact (only small amounts of juice at a time).  They cost $299 and $99 respectively.  I really love the idea of the compact at $99.  This is a great option for the average person who wants to get the benefits of juicing on a small scale and not spend a ton.  There are plenty of other centrifugal juicers out there that are less expensive.  I can’t in good conscience recommend them since reviews for them aren’t glowing.

With the masticating juicer, the pulp will be more dry than with the centrifugal juicer.  It’s like it put on spanx for a night out.  It reeeaaaaaalllllly squeezes.  It’s also really good at juicing those magnificent leafies and wheat grass.  The juice will maintain nutrition longer than juice from a centrifugal juicer.  This is because the action of the slow squeezing gently tears open the cells and lets the juice flow out without much oxidation and doesn’t generate any heat.  Also, the masticating juicer does more than just juice.  Some of them can extrude pasta, make nut butter and nut milk. Nifty.

Omega J8006

Omega J8006

I chose the masticating juicer.  I knew that in addition to my daily juicing, I planned to do occasional juice fasts and wanted the most nutrition I could get.  I also like that I can make my afternoon juice and then have the leftover in the morning knowing it still has all the benefits it did the night before.  I have the Omega J8006.  You can look here for the least expensive price I could find at $279.  Be sure to check out other places since prices seem to change daily.  You’ll notice the price is actually better than the large capacity Breville.  There are now newer models (the 8007,8008) that cost a bit more but the 8006 works great and you can get it for less.  Getting the older model is a great way to get a masticating juicer but pay the same as you would for a high quality centrifugal.  Omega made a big change to the J8006 and improved the auger so I wouldn’t buy a model that came before that.  This juicer is available in a vertical design as well as standard design.  The vertical is a bit more expensive but will take up less counter space.

The bottom line…If you think you will be a casual juice drinker and you will drink your juice immediately after extracting, a centrifugal juicer is a good choice. If you are a little more committed and plan to juice more often and want it to last up to a day for drinking later, a masticating juicer is the best choice.  Also, masticating is a must if you want to make nut butters or nut milks or use your juicer for pasta extruding.  Make sure you check model capability for those extras.

If you missed the post “Getting’ Juicy With It” make sure you give that a peek for some juicy inspiration!

Happy juicing!

Are you enjoying greensypants??  Be sure to like greensypants on Facebook and follow on twitter!  Share with your friends and tell me what we should talk about next!

Smooches,

Nikki


Categories: Product Recommendations, Uncategorized | Tags: , , , | Leave a comment

How to Choose a Blender.

DSC_4686I remember the first time I made a green drink.  I was brimming with anticipation.  I had my cucumber, kale, celery and frozen fruit in the blender ready to go.  It’s time now, the moment I have been waiting for. Flip the switch.  Nothing.  The obnoxious sound was coming out but the food wasn’t moving.  This is not at all what I pictured in my head.  I figured it would be a quick little spin and poof…green goodness.  Nope.  The blender was grinding away and nothing was moving.  So, like any other idiot, I took a spoon and shoved it in there to move stuff around.  Now we are getting somewhere!  I’m plugging away at the thing, mixing it as it struggles to blend the bottom inch of whatever I can shove down far enough.  Eight minutes later…Success!  I pour it in my glass. Hmmmm, it looks a little thick.  No big deal.  Here we go!  Cheers!

Vomit.  Like, actual vomit consistency.  “Viscous” is the best word I can use to describe it.  The taste wasn’t bad at all but the thick, chunkiness..No. Gag reflex activated.

How could this be?  I see all these pictures of smooth creamy shakes and I get this??   Am I doing something wrong?  Yes, Yes I was.

That night, by some strange divine intervention I just happened to come across a recipe that called for a “high speed” blender.  I figured all blenders were high speed. Have you ever seen the little blades turn?  They look pretty high speed to me.  Well, I was wrong. A high speed blender is not the same as my crappy blender.

The right blender is your key to successful green smoothies.  How do you know which blender will rock your world?  A little something I call the celery test.  Chances are you have a blender already.  Give it a whirl.  <—See what i did there?  Blend up some celery and see what happens.  If it’s still stringy you need a better blender.  If the contents stick to the outside and stay out of reach of the blade, you need a better blender.

I know what you’re thinking.  “I’m not spending a ton on of money on a blender”.  I’m with you, I felt the same way.  And they are pricey.  Then I started the typical dialogue in my head that always pops up when I want something.  “Well, it’s not like it’s another purse, it has real value.”  “I could always return it.”  And then the clincher…”It’s an investment in my health.”  How could I argue with that?  Decision made.  Get a high speed blender.

There are tons of blenders out there.  I spent hours upon hours figuring out which one to buy.  I considered price, power, customer reviews and personal experience while compiling info.  I narrowed it down to the three blenders that performed the best within these parameters.  My top choices are:  The Nutribullet Pro 900, The Ninja Ultima, and Vitamix.  Here are the pros and cons of each.

Nutribullet Pro 900

Nutribullet Pro 900

Nutribullet Pro 900– (900 watt) You flip past this infomercial every Saturday morning. I have no personal experience with this one, but I have a few friends that have it and like it. It’s basically a more powerful version of the Magic Bullet.  If you are going to use your blender exclusively for smoothies and nothing else this may be a good option.  Also, if you have limited kitchen space or plan to travel with your blender this could work for you.

Pros: Lower cost at $150 (on sale as low as $99), more compact size, and dishwasher safe.

Cons:  Product reviews suggest it is not built to last.  It has a smaller canister (32oz) compared to other high speed blenders. It  cannot make nut butter or other thick substances. Also, users report thick greens like kale and seeds leave grainy texture.  Reviews claim poor customer service, and there is only a one year warranty.

Ninja Ultima

Ninja Ultima

Ninja Ultima-(2.5 peak horsepower).  This one receives mostly good reviews for performance. There are a few reported problems that seem to be recurring. There is a set of blades about halfway up the blender jar.  They are there to keep the contents spinning instead of getting stuck at the bottom.  Seems awesome right?  People are cutting their hands. Not awesome.  I actually had a Ninja about three years ago and returned it a week after purchase for this reason.  If you are blending something that is a thicker consistency like peanut butter you usually will use a utensil of some sort to scrape the sides and you stick your hand in there not thinking about it.  Bloodbath.  Also, reviews report lid is difficult to get on and off.

Pros:  Makes great smoothies.  It has an extra large 72oz canister.  It is able to make nut butter, soups and sauces.  It has variable speed and 3 single serve cups included and is also dishwasher safe.

Cons:  Risk losing a finger or two.  Getting more expensive at $259 (have seen on sale for $199).  It is slightly large and bulky compared to others.  Users report thick blending (i.e. peanut butter) requires stopping the blender often to stir.  Only a two year warranty.

Vitamix

Vitamix

Vitamix(2 peak horsepower) If you are looking for the best of the best, I present to you the Vitamix.  It is coveted by foodies and greenies all over.  It will blend anything you put into it including nuts and seeds.  Like a boss.

Vitamix has a great reputation and is more widely known so there are more reviews.  You’d be hard pressed to find a legit bad one.  It’s been around for a while It’s not uncommon for someone to say they have had theirs for twenty years and it still works like new.  They have excellent customer service and it’s made right here in ‘Merica.  It also comes with this thing…

DSC_4678The tamper.  It’s like a plunger that goes right in the hole in the top of the lid and reaches just above the blades.  You can scrape the sides without having to stop or open the blender.  Genius!  Now for the hard part, the price…

The Vitamix is expensive.  I’m just gonna throw that out there because it will most likely be the only thing that will hold you back from buying it.  The price range is $379 to $650.  I know, I’m sorry.  $650 is bat $h!t crazy to spend on a blender.  The good news is that even the least expensive base model is amazing and will blend ANYTHING you wish into smooth oblivion.   Keep in mind these machines are very versatile.  They make more than just smoothies.  In fact, I bet you can put your blender into a Vitamix and it would turn it into a creamy milkshake.  (Don’t try that, as I’m sure it would void the warranty).

I am a proud owner of a Vitamix and it is one of my most prized possessions.  I use it everyday.  I have the Turboblend Two Speed which is the bare bones model and costs $379.  There is no variable speed and that doesn’t bother me at all.  The more expensive models have some nice bells and whistles but the base model works great and I don’t find myself dreaming of a better version.  The 64oz container is plenty large and I don’t see ever needing any more space.  (Important tid bit-To clean it you just fill it half way with warm water and a few drops of soap and blend for a few seconds, rinse out and let air dry.)

To sum up the Vitamix:

Pros:  Extremely powerful, blends perfect smoothies, nut butters, soups and sauces, great warranty, large 64oz container, excellent customer service.

Cons:  Price, hand wash recommended.

Many people wonder why the canisters of these expensive blenders are plastic and not glass.  It is because the high speed would shatter the glass.  All of these blenders mentioned here are BPA free.  The horsepower is important but as far as blenders go, a horsepower of 2 is sufficient for all of your kitchen needs.  If you know you want a more powerful blender for nut butters and such…Here is a great video from steamykitchen.com comparing the Vitamix to the Ninja Ultima.

Here is my final conclusion:  If you know you are going to make only smoothies and never want to make peanut butter or soup or anything like that go with the Nutribullet Pro 900.  It will serve you well.  Keep in mind, if you feel a juicer may be in your future also there are many units that can make nut butters if you can’t see spending the money for the Vitamix.

If you are willing to make the investment and want a more versatile blender, the Vitamix will not disappoint.  It will make the smoothest green drinks and creamy peanut butter.  You can also get a refurbished one for around $279 and that still comes with a 5 year warranty.

PS- There are many stores that send you coupons.  Sometimes it says right on the coupon it isn’t valid for certain brands.  Hypothetically, if you were to bring the excluded blender to a register and hand over the coupon it may work.   Just sayin’.

I hope this helped you on your quest to Greenyville.  Let me know what kind of blender you use and what you are whipping up by emailing me

nikki@greensypants.com!  Don’t forget to like Greensypants on Facebook and follow on twitter so you know when there’s so new greensypants info to soak in!

Smooches,

Nikki


Categories: Green Love, Product Recommendations, Uncategorized | Tags: , , , , , , , , | Leave a comment

Blog at WordPress.com.